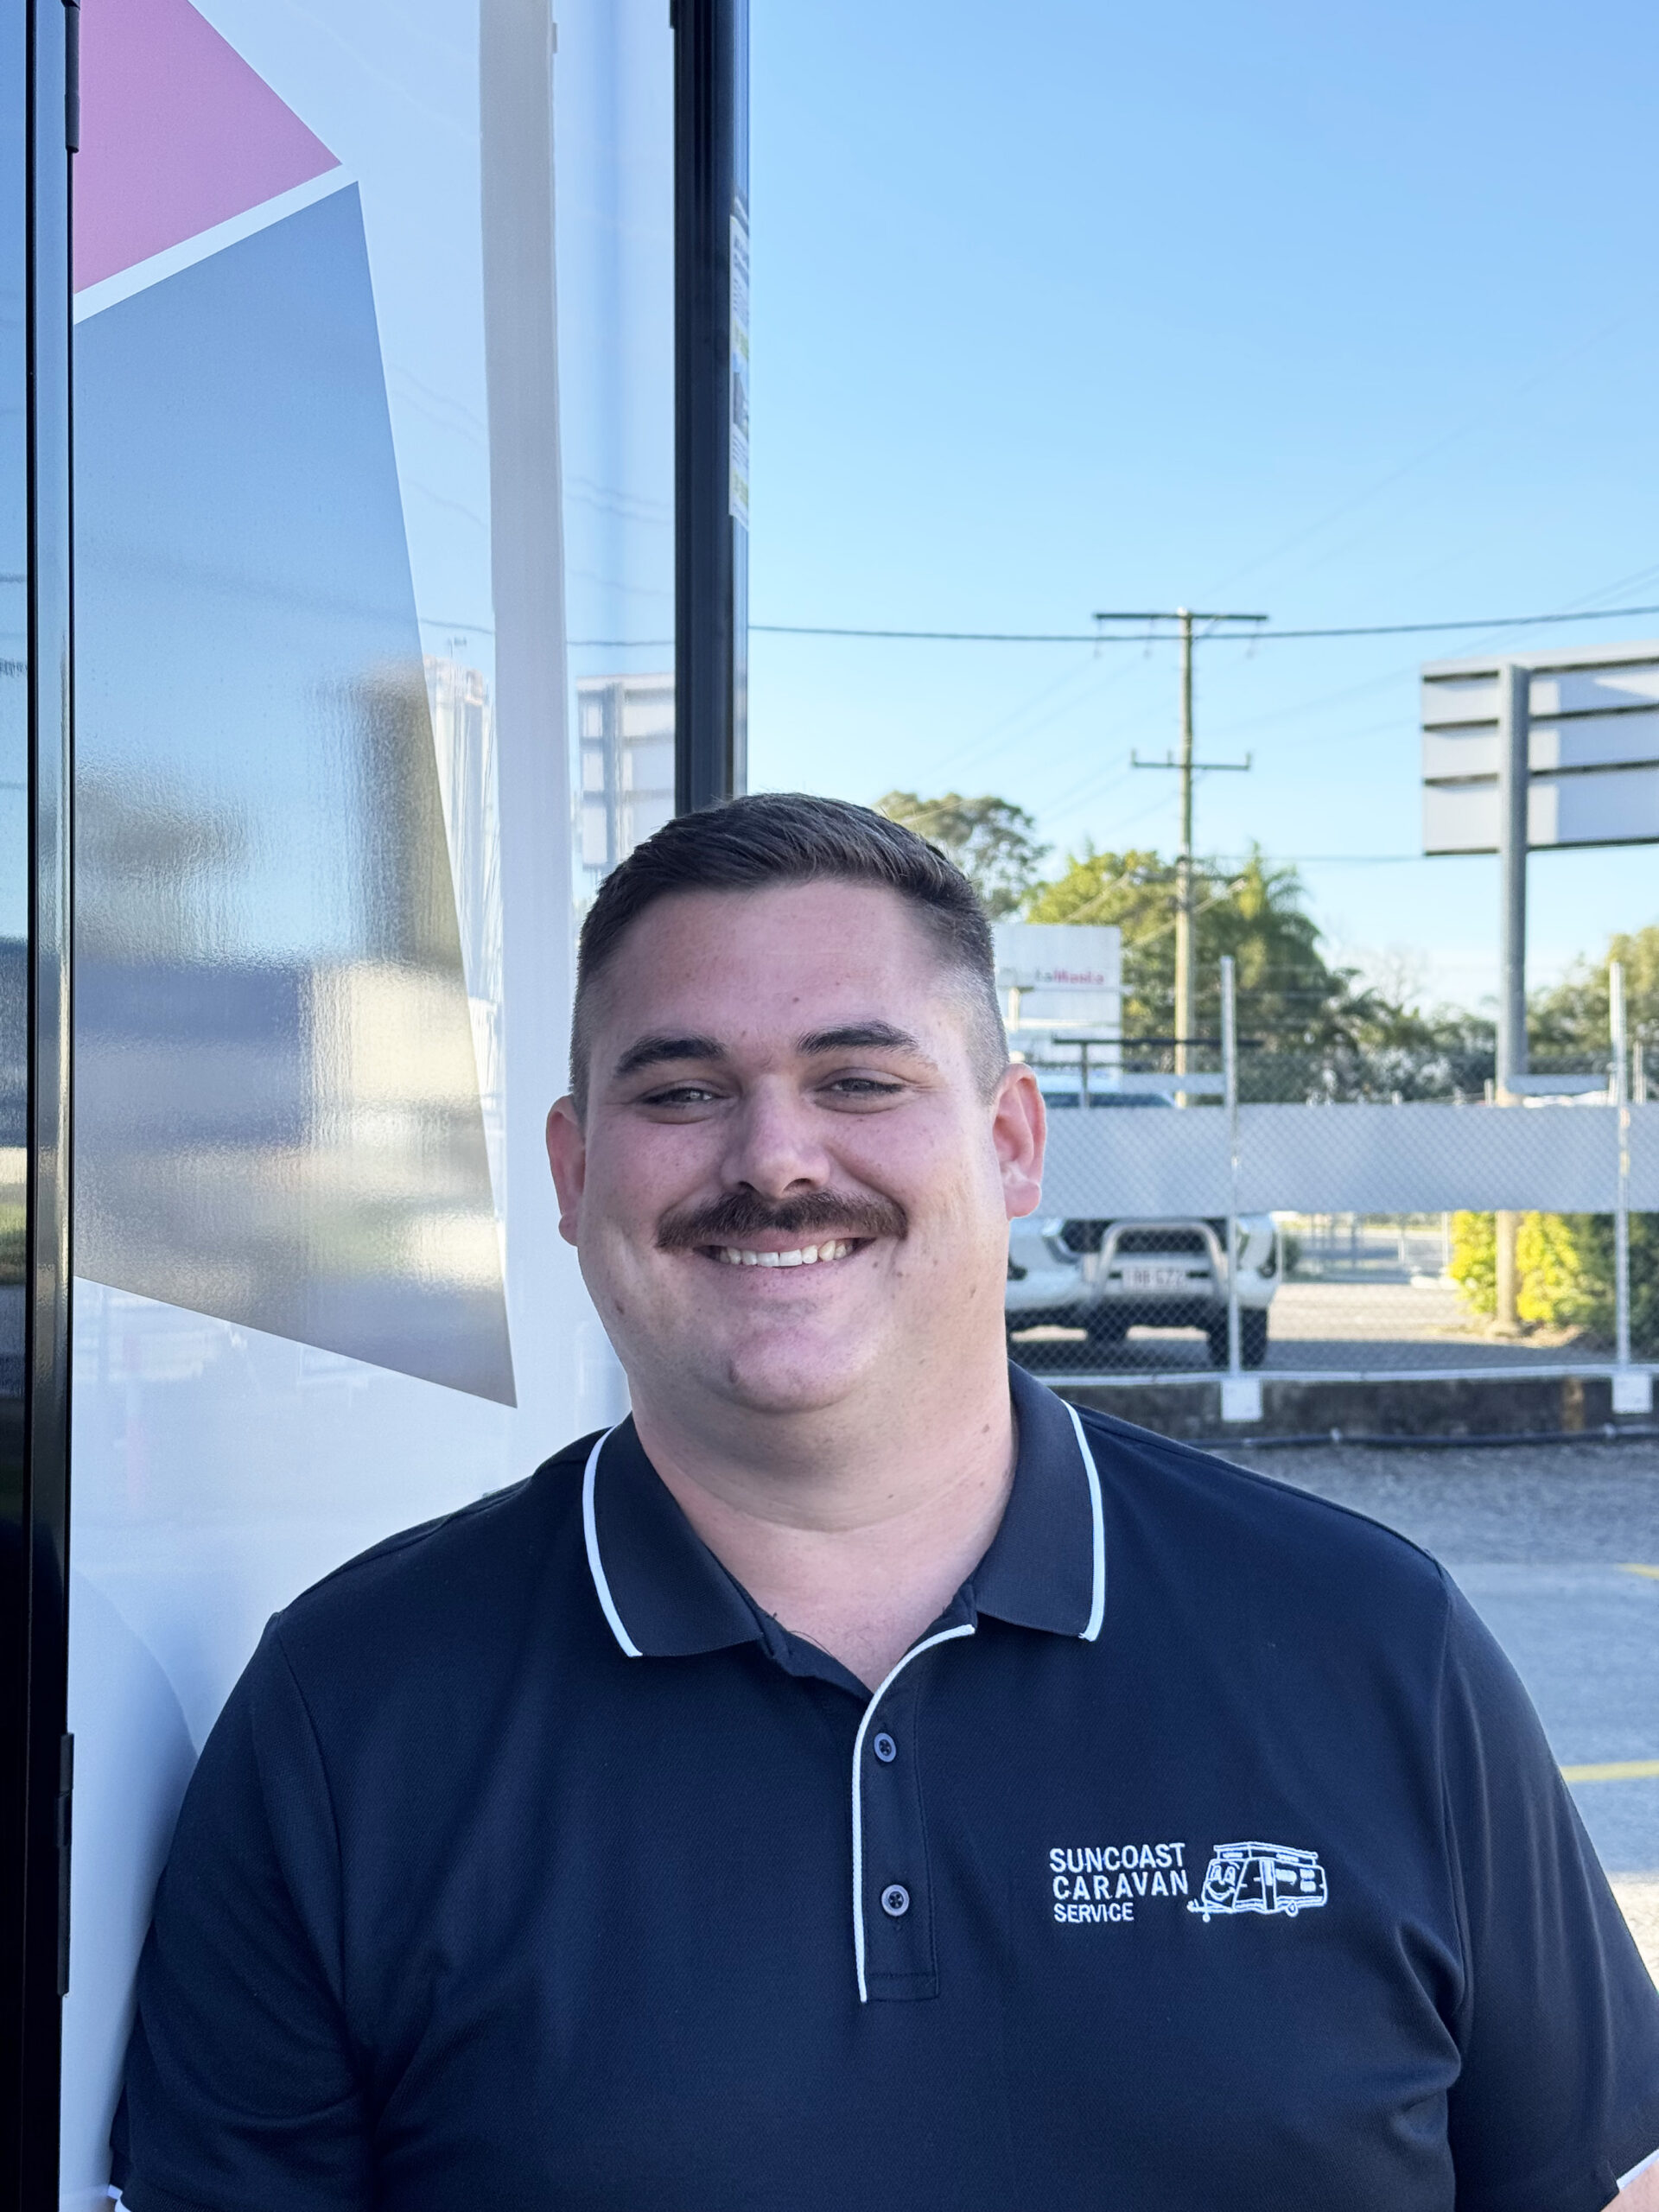
At Let’s Go Caravan Insurance, we know how much time, love and hard-earned money goes into owning a caravan. For many Australians, their van is more than just a vehicle — it’s a holiday home, a retreat, and the centrepiece of countless memories on the open road. That’s why protecting it is about more than just having an insurance policy. One of the most common (and preventable) issues we see in our claims is water ingress caused by worn or damaged seals. Left unchecked, even a small leak can lead to rot, mould, electrical faults, and repair bills that run into the thousands. Worse still, if insurers assess the cause as lack of maintenance, parts of the claim may not be covered. This is why we think it’s so important to talk openly about seal maintenance. To bring you the best advice, we’ve tapped into our trusted repairer network and asked Adam Twist, General Manager of Suncoast Caravan Service, to share his expertise.
Meet our expert partner
Suncoast Caravan Service is a family-owned and operated business that has proudly served the Sunshine Coast and the wider caravanning community for more than 48 years.
Their workshop is renowned for its expertise in caravan servicing and repairs, their retail shop is packed with quality parts and accessories, and their customer care is second to none.
As one of our long-standing repair partners, Suncoast has helped hundreds of our insured customers get back on the road quickly and with peace of mind. Their motto is simple: quality, care, and connection.
Our message to Let’s Go Caravan Insurance customers
We strongly encourage every insured customer — whether you’re new to caravanning or a seasoned traveller — to take some time this season to give your van’s seals the attention they deserve.
Think of it as routine health care for your caravan: a small investment of time that can prevent major headaches later. With Adam’s help, we’ve pulled together 10 practical steps that every caravan owner can follow to stop leaks before they start.
10 Practical Steps to Stop Leaks Before They Start
1. Do a seal “walk-around” every 3 months
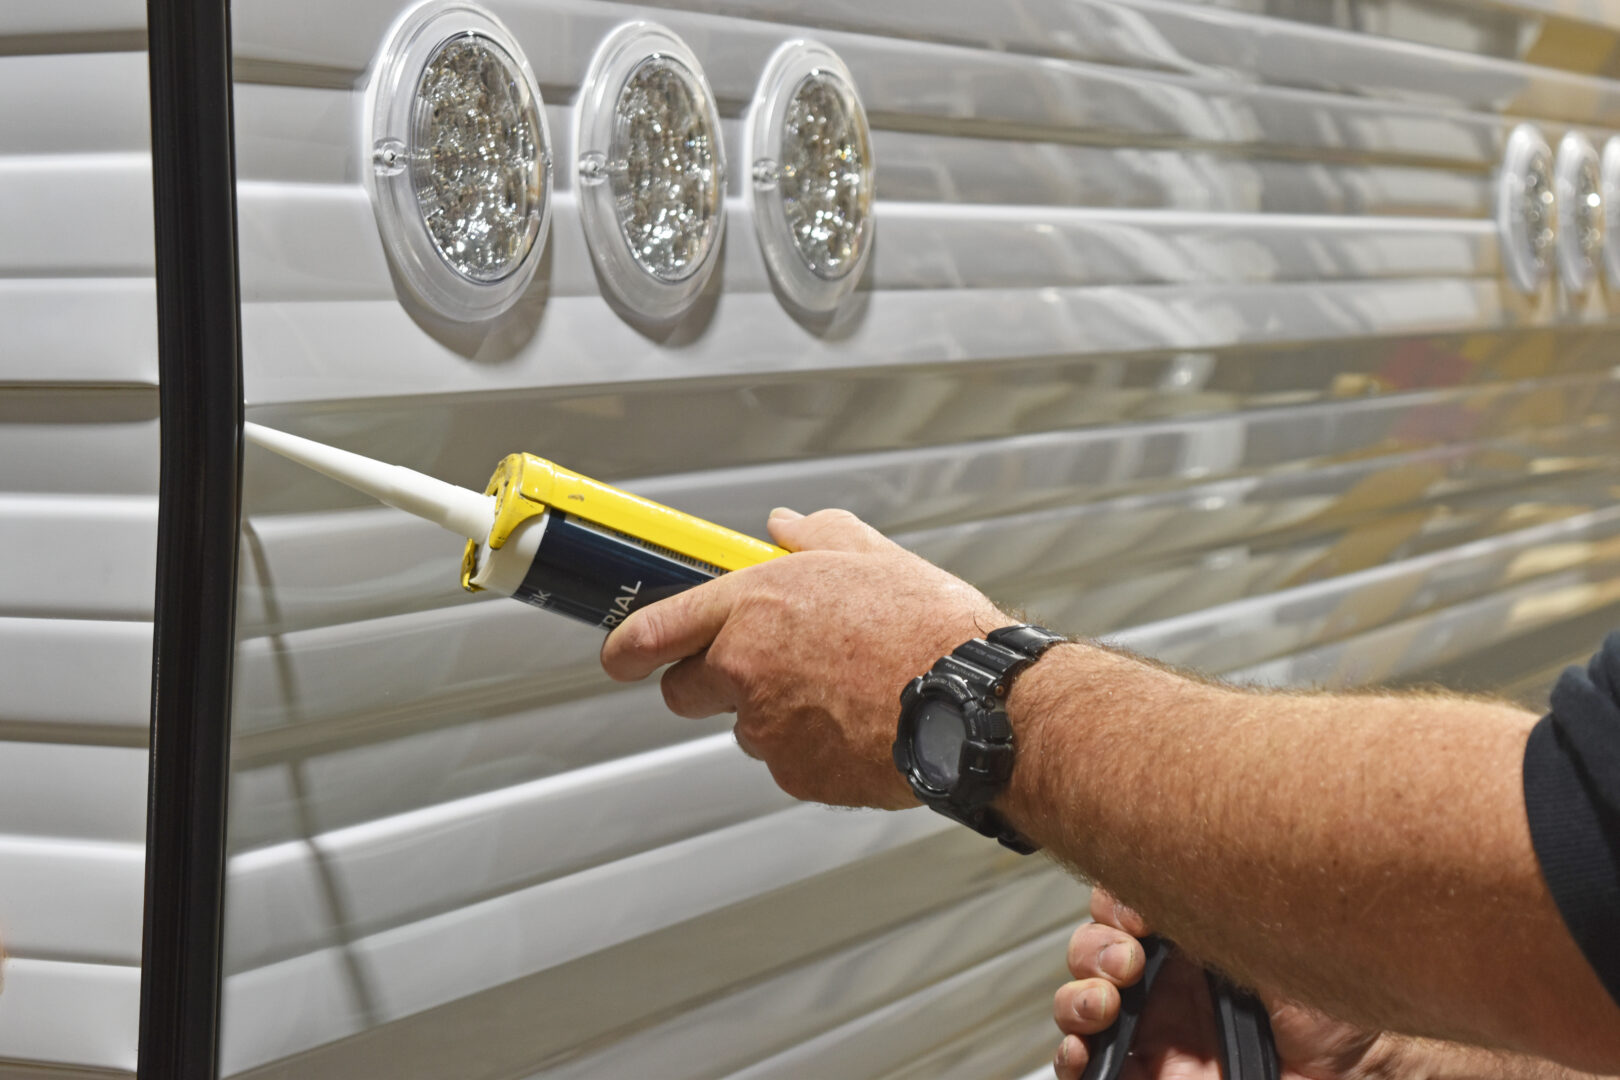
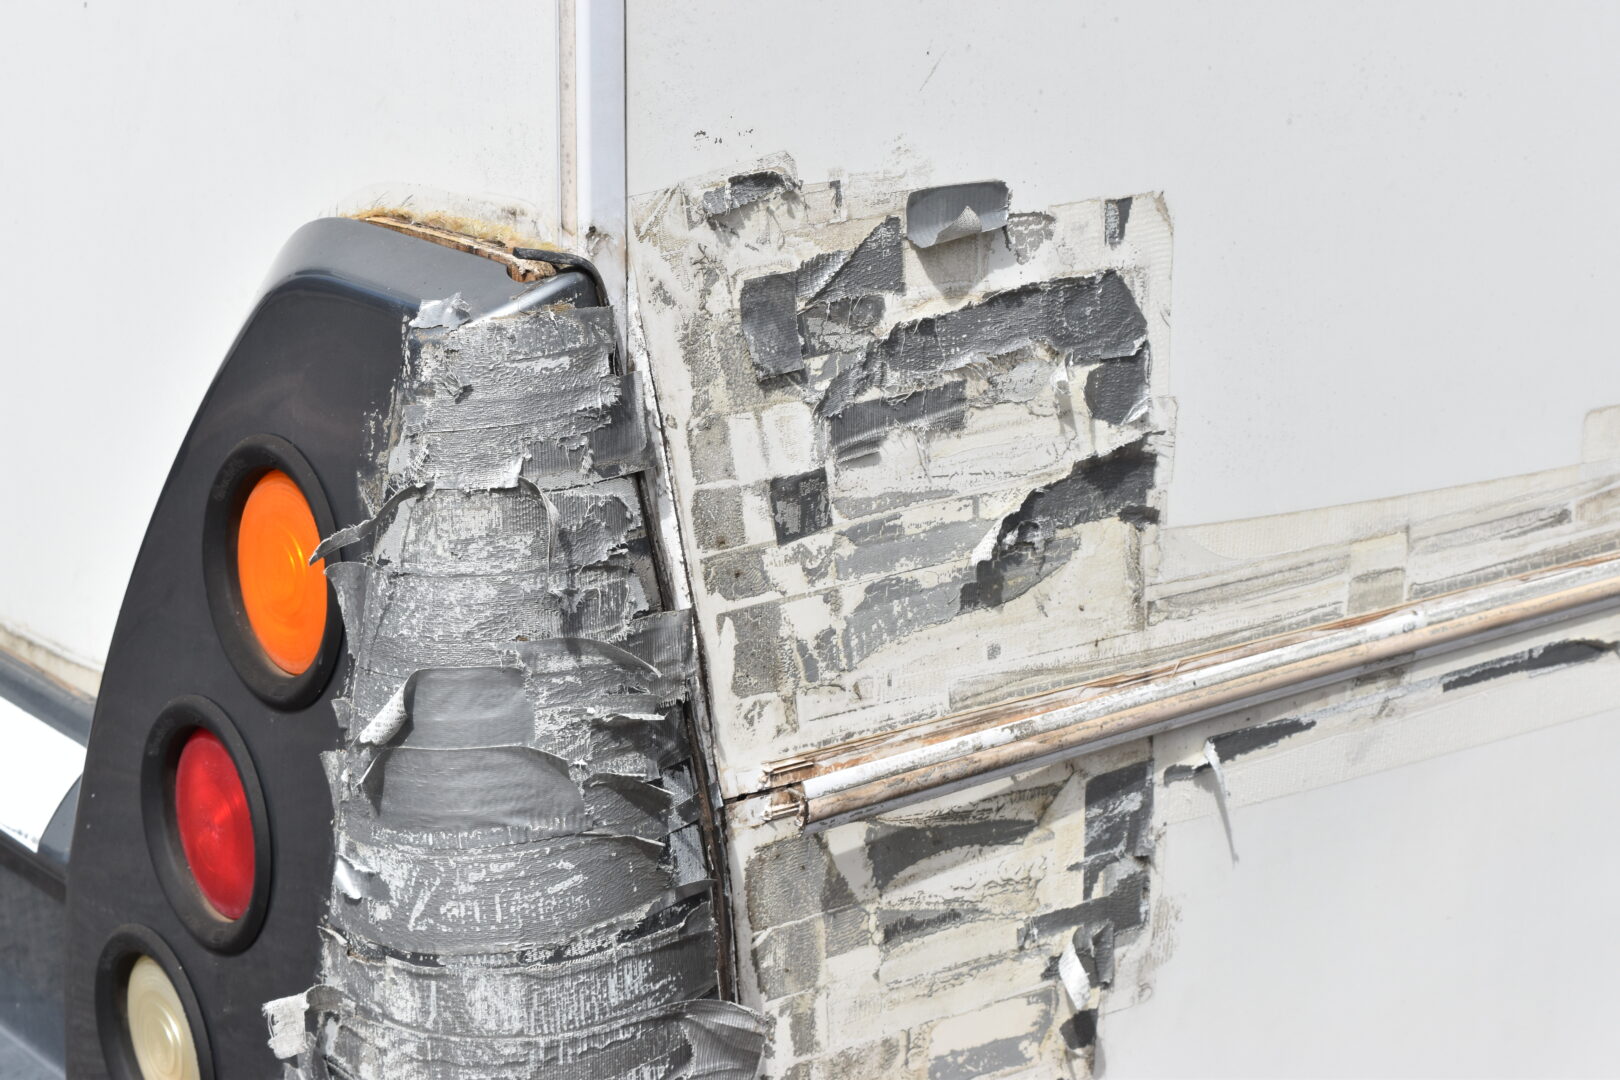
Take a slow lap around your caravan every few months. Look closely at roof mouldings, corner joints, awning rails, antennas, solar mounts and any other fittings. Watch for cracks, lifted edges, or chalky surfaces from UV damage. If you spot issues, don’t just mask them — the fitting or fixture usually needs to be removed, cleaned, and resealed.
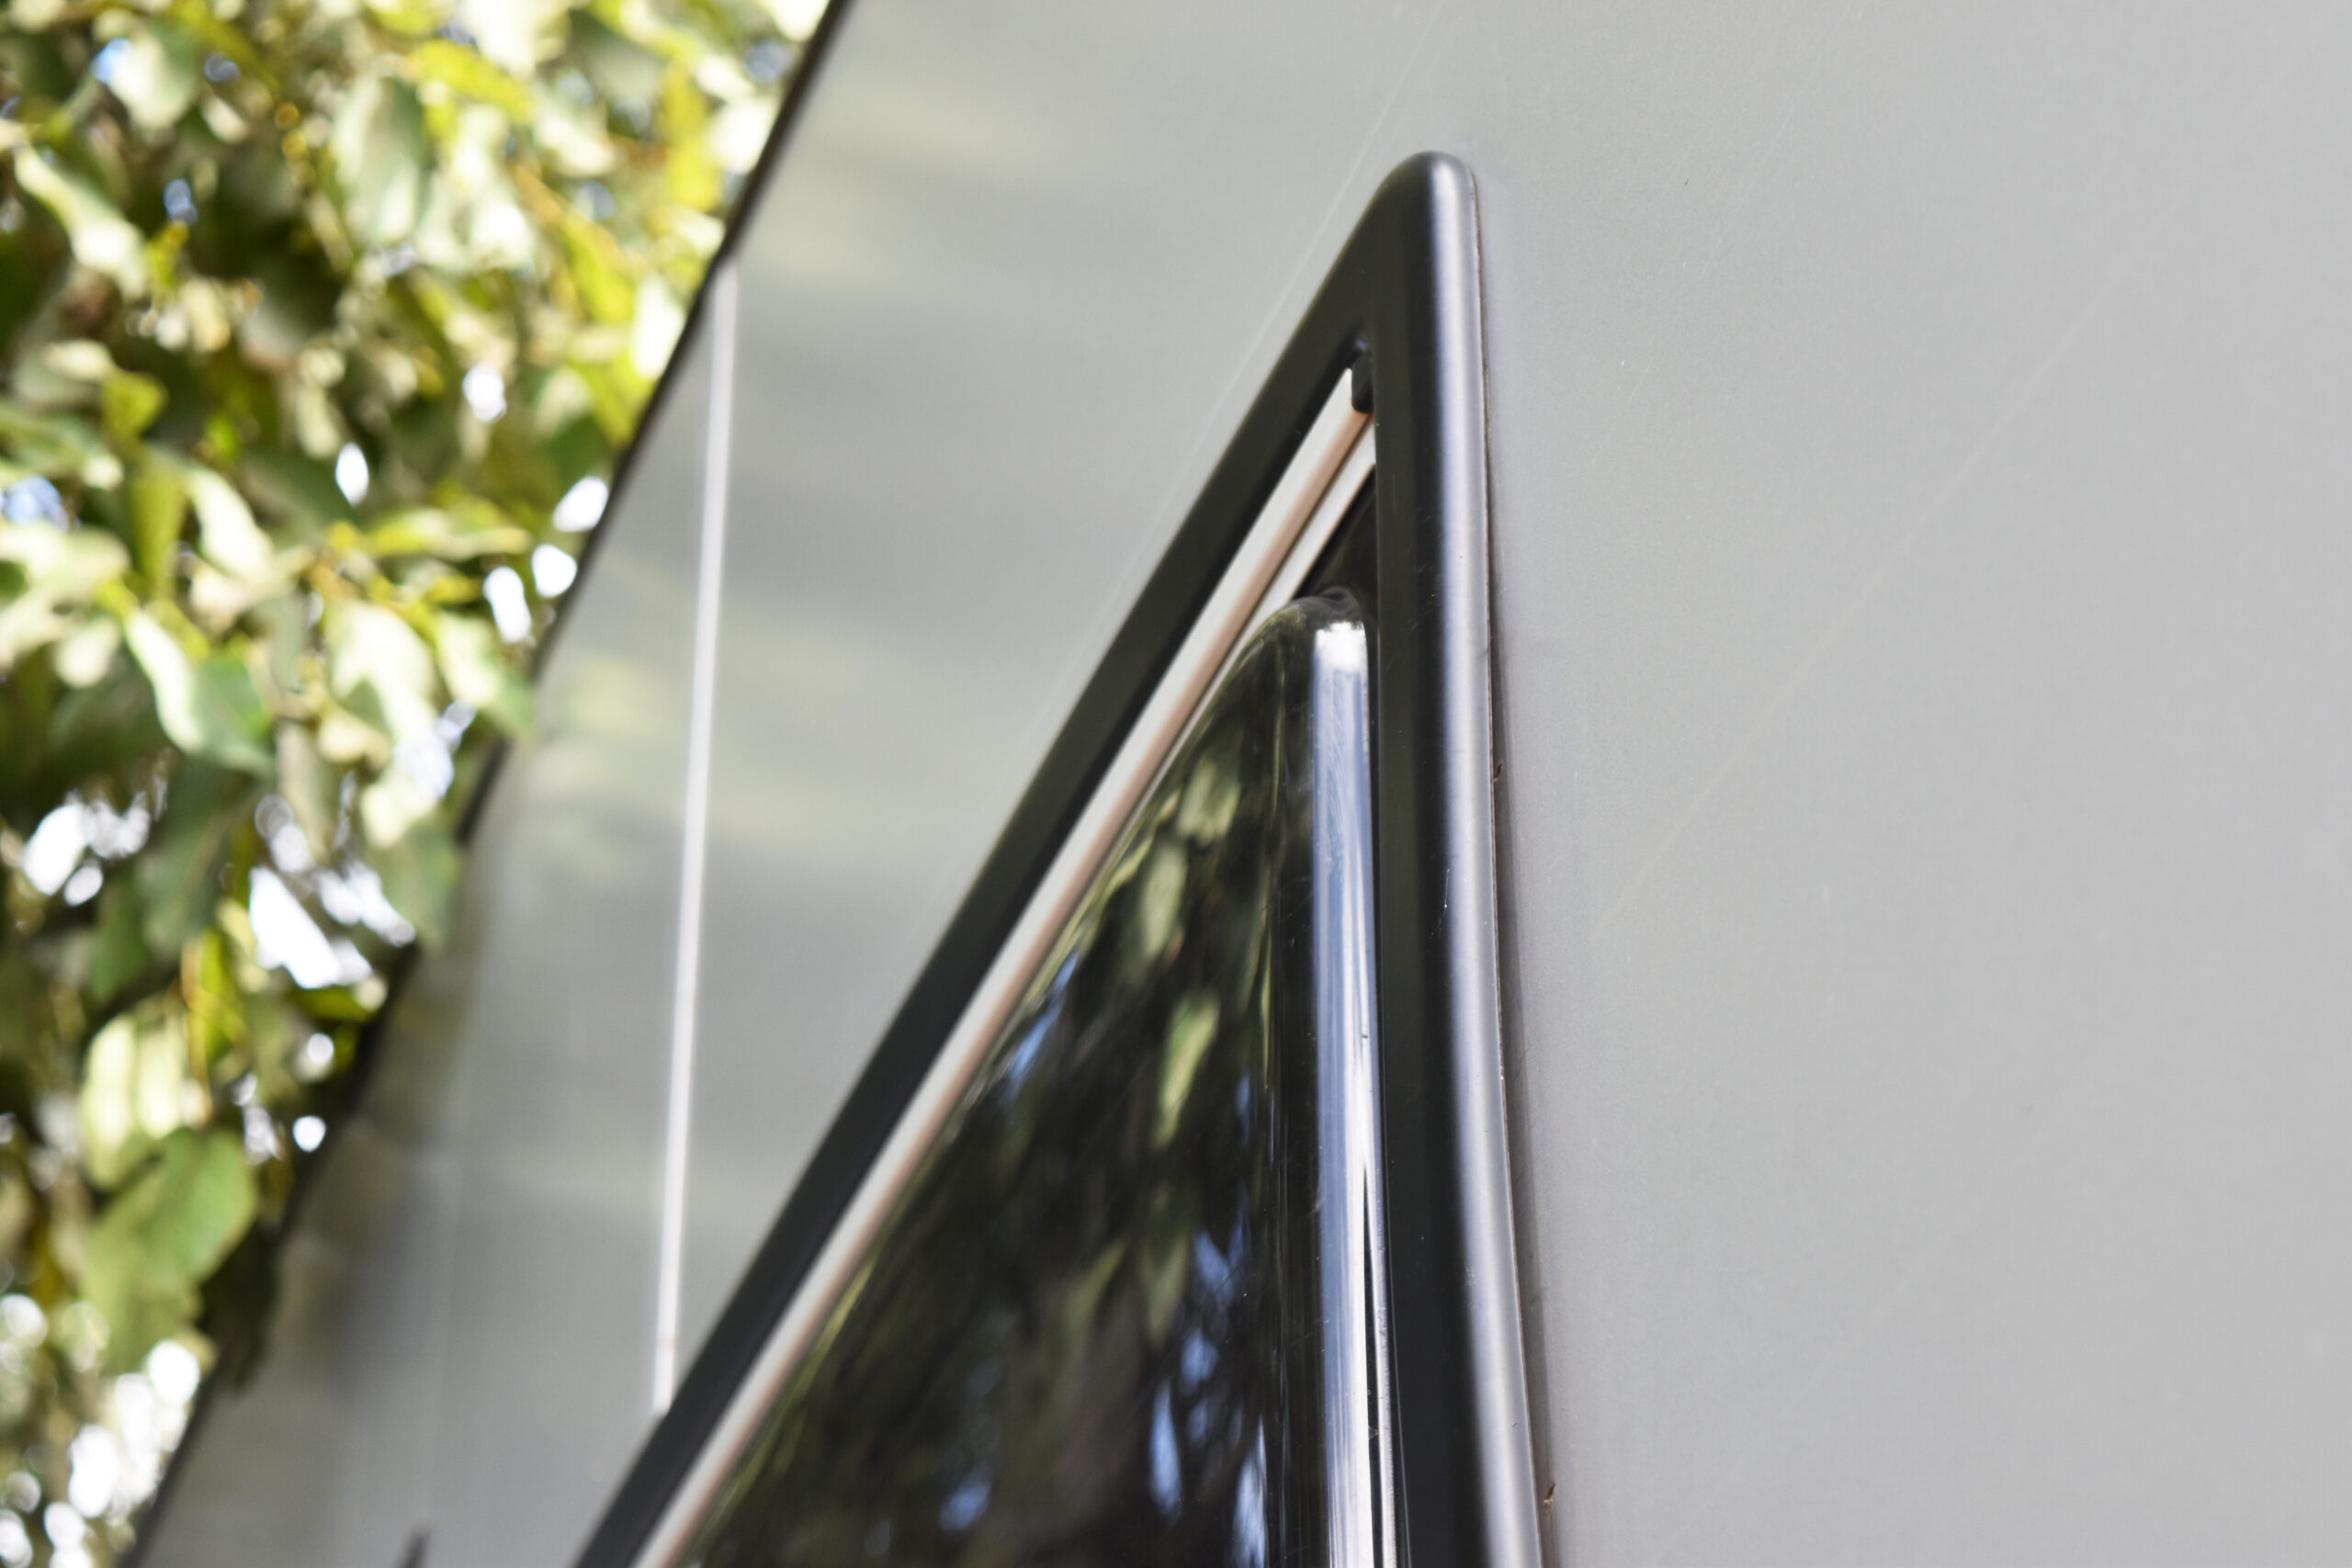
2. Give windows, doors & hatches the finger-press test
Gently press the silicone or foam tape around frames. If it feels brittle, flakes off, or lifts away, it’s time for a replacement. Also check that hinges shut flush and clear out weep holes so rainwater drains properly.
3. Service roof accessories annually
Air-conditioners, satellite dishes and roof vents are notorious leak “hot spots.” Have them inspected once a year — ideally at the same time as your annual mechanical service. Cracked housings or perished seals are easier to fix early.
4. Maintain plumbing lines & silicone inside
Leaks can come from the inside too. Tighten hose clamps beneath sinks and around fillers, check hot-water systems for drips, and reseal your shower cubicle when needed. Look out for unexplained stains or “high tide” marks — they may indicate hidden leaks.
5. Keep it breathing
Moisture thrives in closed caravans. Fit floor-level and roof-level vents, crack a window during storage, and consider a dehumidifier in humid climates. Covered storage is even better — it keeps the air moving and the damp away.
6. Store smart
If possible, park under a carport or shelter. If you use a cover, make sure it’s breathable and snug-fitting. Avoid tarps — they trap moisture and can create mould problems.
7. Clean & “polish” the roof
Wash the roof after each trip, check screw caps, and finish with a protective wax to slow UV damage. Use a soft brush and avoid harsh cleaners. Washing isn’t just cosmetic — it’s a chance to spot broken seals early.
8. Log your inspections
Take photos during each inspection. They’ll help track changes and provide proof of maintenance if you ever need to make a claim.
9. Book a professional seal inspection at every service
Ask your service centre to include a visual inspection of seals during your annual service. A professional record adds extra assurance and documentation.
10. Act fast if you spot signs
Musty smells, soft wall panels, bubbling vinyl, cracked ply or even ants sneaking in can all point to hidden leaks. A quick reseal may cost a few hundred dollars, but delaying repairs can mean extensive damage. Insurers may consider it wear-and-tear if left too long.
The key takeaway
A 30-minute inspection a few times a year is the simplest, most cost-effective way to defend your caravan against one of the most expensive types of damage.
Set a reminder, create a checklist, and keep records. Not only will this keep you road-ready, it will also protect your insurance cover and preserve your van’s resale value.
Final word from Let’s Go Caravan Insurance
We’re passionate about protecting our customers’ caravans — not just when things go wrong, but also by helping you avoid problems in the first place.
By sharing expert insights from our repairer network, we aim to empower you to take small, practical steps that safeguard your investment.
So before you set off on your next adventure, take half an hour to give your seals the attention they deserve. It’s one of the best ways to protect your pride and joy, and to make sure your insurance policy is there for the big things, not the preventable ones.
We strongly encourage you to follow all of the recommended steps above. Together, they form a simple but powerful routine that will keep your caravan watertight, safe, and ready for the open road.
At Let’s Go Caravan Insurance, we’re with you for the long haul — supporting your journeys, your lifestyle, and your caravan.